
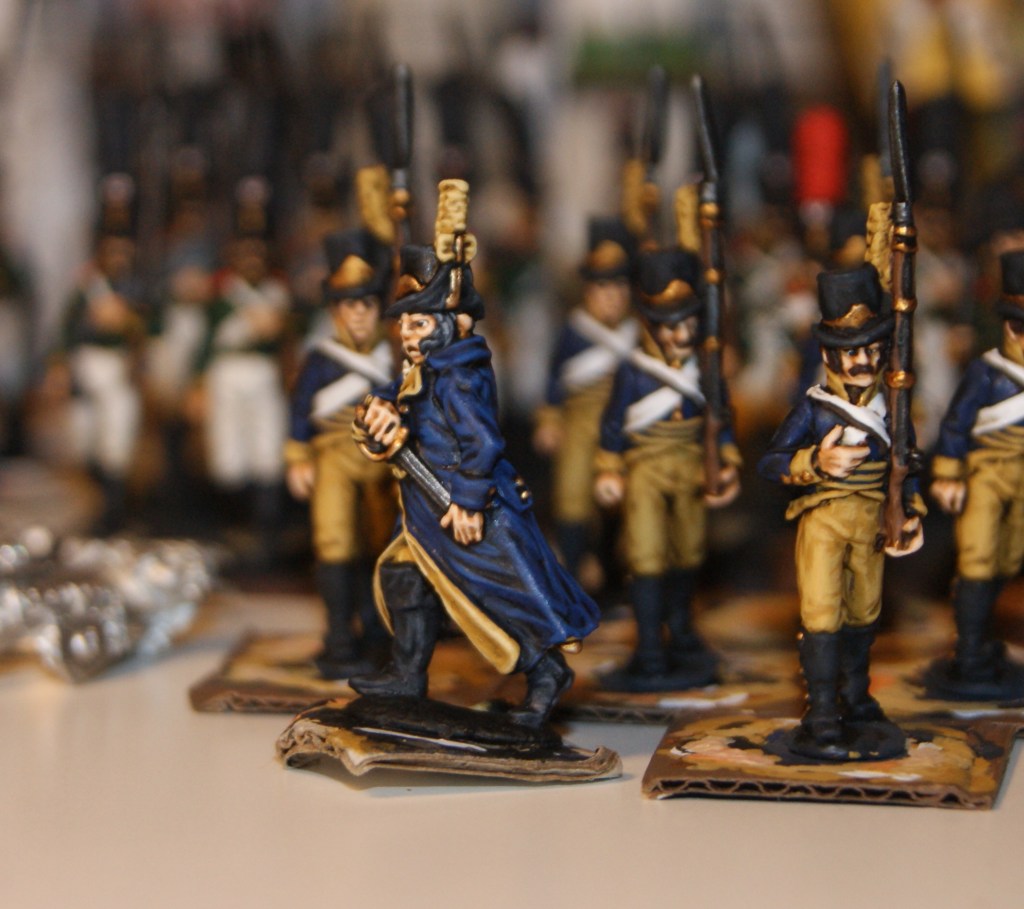
Moving forward with more troops for my 1808 Swedes. This is the last of the Finnish regular regiments. I will need one large battalion of 30 or 36 figures plus som skirmishers. Painting six at a time go is a good way of working away at large numbers of miniatures at a reasonable pace.
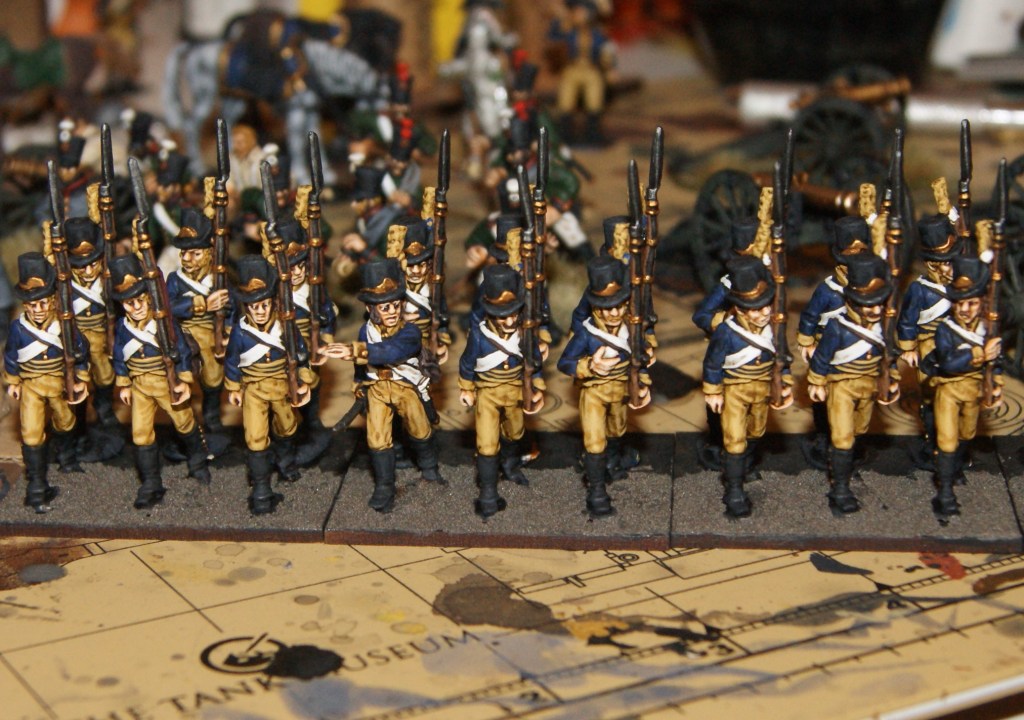

Having painted around 300 of these Perry Swedish infantry, I have found a few tricks to speed up painting. First, I try to let the shading wash do as much of the work as possible. Highlighting makes figures look better, but it takes time – there is a definite trade-off. So if there is anything that can be done to minimize highlighting, that will be necessary, especially for rank-and-file figures, such as these. At the same time, one does not want to omit those effects that really make the figures look good. My solution to this is to use highlights where they really make a difference, and to leave them out where they dont.
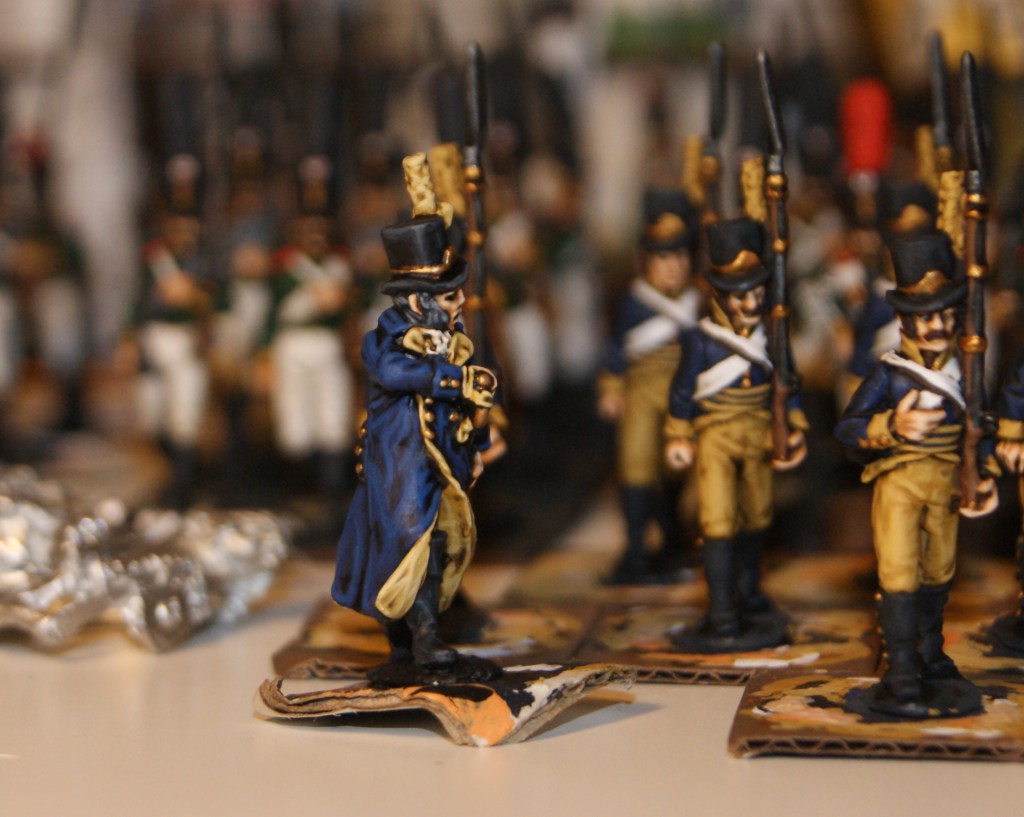
Areas such as the blue of the coat, the dark grey of the gaiters and boots, leather straps, dark leather of the shoulder bag, dark hair, and also the musket wood and all metal fittings, buttons etc, work pretty well without further highlighting. When batch painting, I also do all of one batch with the same color of the hair. Next batch will have light hair!
As for the metal parts, I used to paint these black before painting in the metal color. Ive found that this step is unnecessary if you shade them with a wash as dark as AP strong tone, which is the one I use. For gun metal/steel, I mix the metal color with black. I also add one highlight to the steel of the musket. This is because I actually leave the top of the bayonet unpainted until the last moment. This is simply because I need to hold the figure, putting my finger on top of the bayonet while painting, which will inevitably lead to paint chipping off. So, better to leave that and do it at the very end, so that I dont have to re-paint the bayonet on every figure.

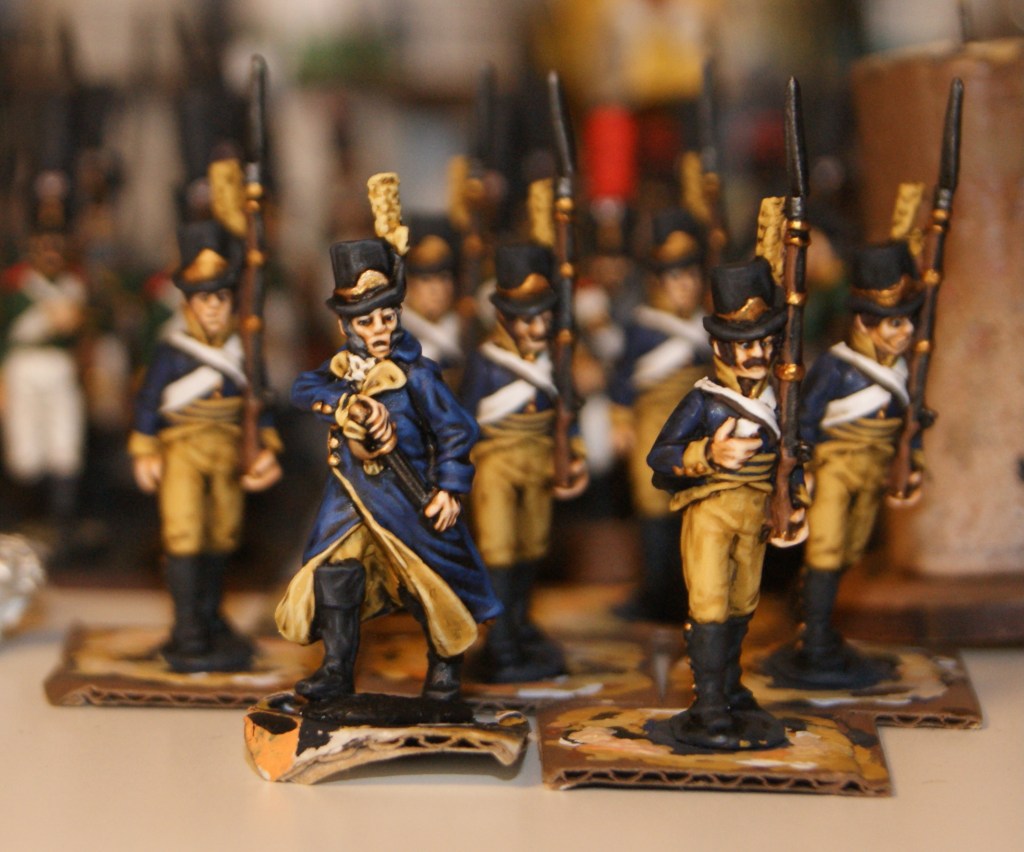
Yellow is a color that really needs highlights to look good, and on these particular figures, that means a large part of the clothing! The skin of the face and hands also look a lot better with highlights and they give the figures a great deal of their character. The black of the hat is also highlighted, as are the light patches on the shoulder bag. Over time, I have tried and tested which areas can do without highlighting, and which cant, but its still a learning process. On these Perry figures, I also paint the eyes, which I dont normally do on their counterparts, the Brigade Games Russians. This is because of how the figures are scuplted. On the BG figures the eyes are pretty much in shade by the hat, but also very difficult to get right. The conclusion is that painting the eyes on them is just not worth the effort The Perry minis have very well sculpted eyes which are extremely easy to paint. Painting the eyes on these six figures probably took less than five minutes. In many cases, the eyes, just like skin tones, contribute much to the overall character of the figures – but that is not always the case.

Quick painting guide:
After cleaning with a knife, I first primed the figures with Army painter’s (AP) Leather Brown (spray can). The base colors were then painted in. Areas of flesh were painted with Vallejo (Va) Dark Sand before painting the flesh color (it does not cover well). Over the base colors, a wash of AP strong tone was applied. I diluted it somewhat with water over the trousers. After highlighting, the figures were varnished with Winsor & Newton’s Galeria Matt Varnish.
Base colors (with highlights) were as follows:
Coat: Coat d’arms (Cda) Royal Blue
Trousers and facings: Va Gold Brown (highlight 1: Gold Brown; highlight 2: Gold Brown+White)
Gaiters and boots: Va Black Grey
Hat: Black (highlight 1: Black+Black Grey; highlight 2: Black Grey)
Shoulder bag, main color, and hair: Va Dark Rust
Shoulder bag, light patches: Va Dark Sand
Belts: White (highlight 1: White)
Steel: Cda Gun metal+black (highlight 1: Gun metal)
Brass: Va Glorious Gold
Copper water flask: Cda Brass
Musket strap: Va Hull Red
Leather strap: Va Leather Brown
Flesh: Cda Tanned Flesh (highlight 1: Tanned Flesh; highlight 2: Cda Flesh)
