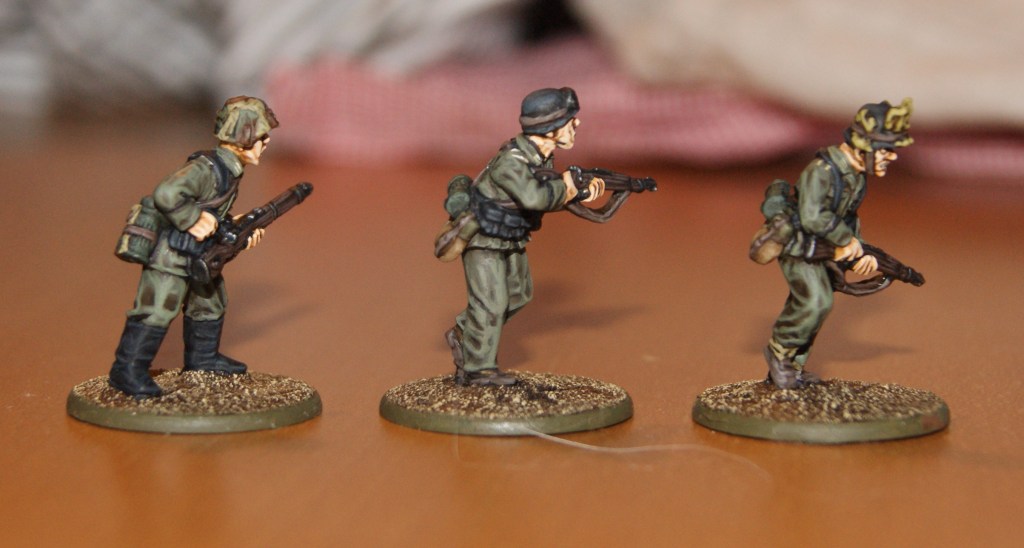
Some more Germans, this time they are the last ones remaining on my desk, so hopefully I will be doing other stuff for a while. These three figures were made from one Foundry figure with a Warlord head, one Perry figure with Warlord head and one Perry figure with its original head still intact. I love the Perry DAK figures, but the faces can be difficult to paint well. Maybe I should have swapped heads on that one to. Anyway, they will still do nicely in the 1943 style group I already have, they are around 20 right now, for the moment, complemented with a few of my older Crusader figures.
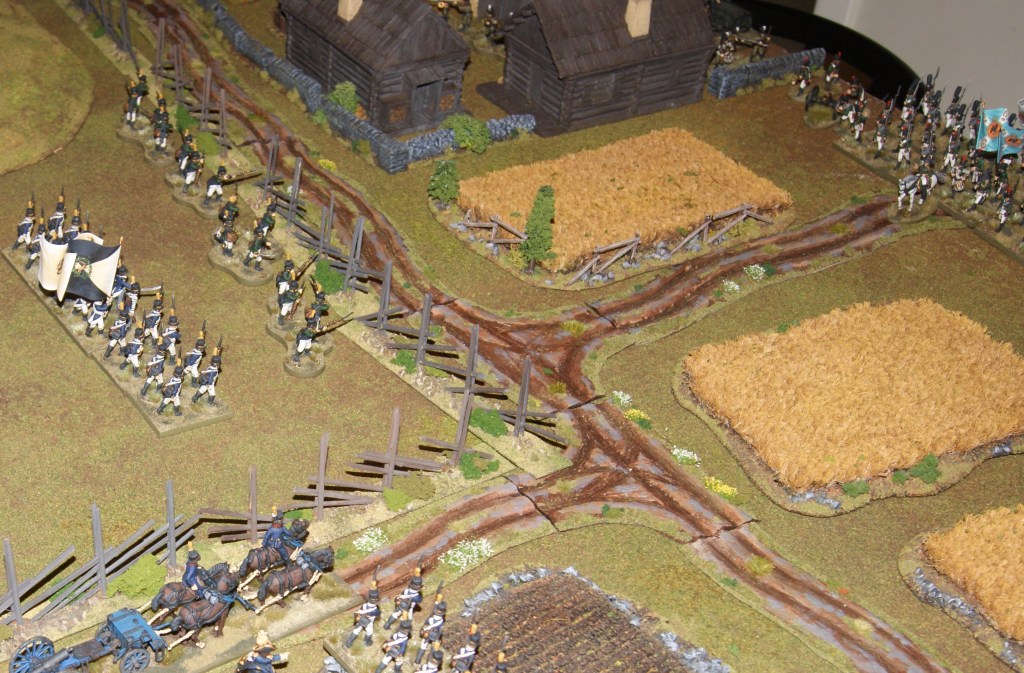
Last night we played another game of Black Powder set in 1808 using the Russian and Swedish armies. This game was not based on any sort of historical event, instead I hastily devised a generic scenario. The idea was that one out three Swedish brigades had captured a strategicly important crossroads, while all three Russian brigades are closing in fast. One Swedish brigade starts in the center of the table, two Russian brigades start on their table edge. A third Russian brigade enters from the right hand side of the table from turn two on a dice roll of 4 or more; the second and third Swedish brigades enter from turn three, again on a 4+.
The armies of both sides were evenly matched, with three smallish brigades of three infantry battalions on each side, plus one 6-pdr and one 3-pdr gun and two cavalry squadrons per side. About a third of the infantry were jägers. Althogether, the armies were not based on any particular historical order of battle, but they were generally similar to what would have been fielded in the major engagements in Finland at the time.
The game turned out to be a disaster for the Swedes, partly because the second and third brigades arrived too late, partly because of an aggressive attack by the two Russian brigaes on the advanced brigade in the center. The scenario could have been tweaked and planned a little better. However, the really good thing was that we achieved an unusually fast-paced game which was concluded with a clear victory for the Russians within a reasonable amount of time. In that sense, the scenario worked: the Russians had an incentive to play aggressively, which they did, and that payed off.
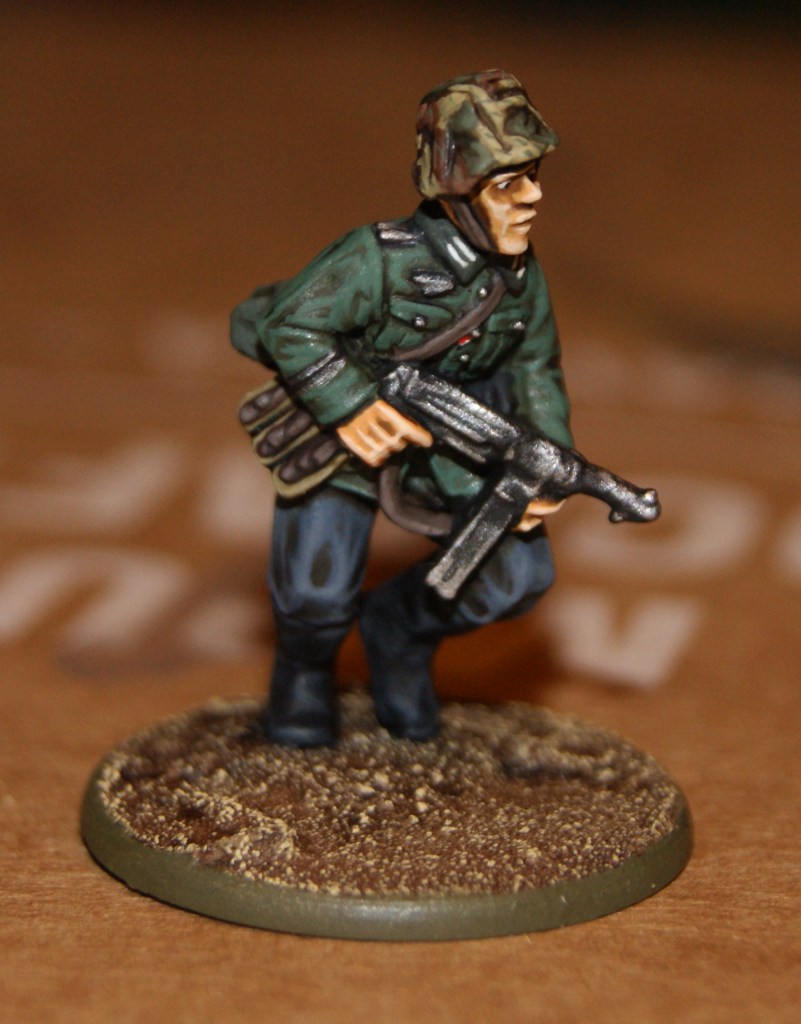
This one is a Perry DAK figure with no modifications, just painted in regular German colors, the tunic as an early war model. Rivet counters will probably find fault with some of the kit, but it looks convincing enough to me.
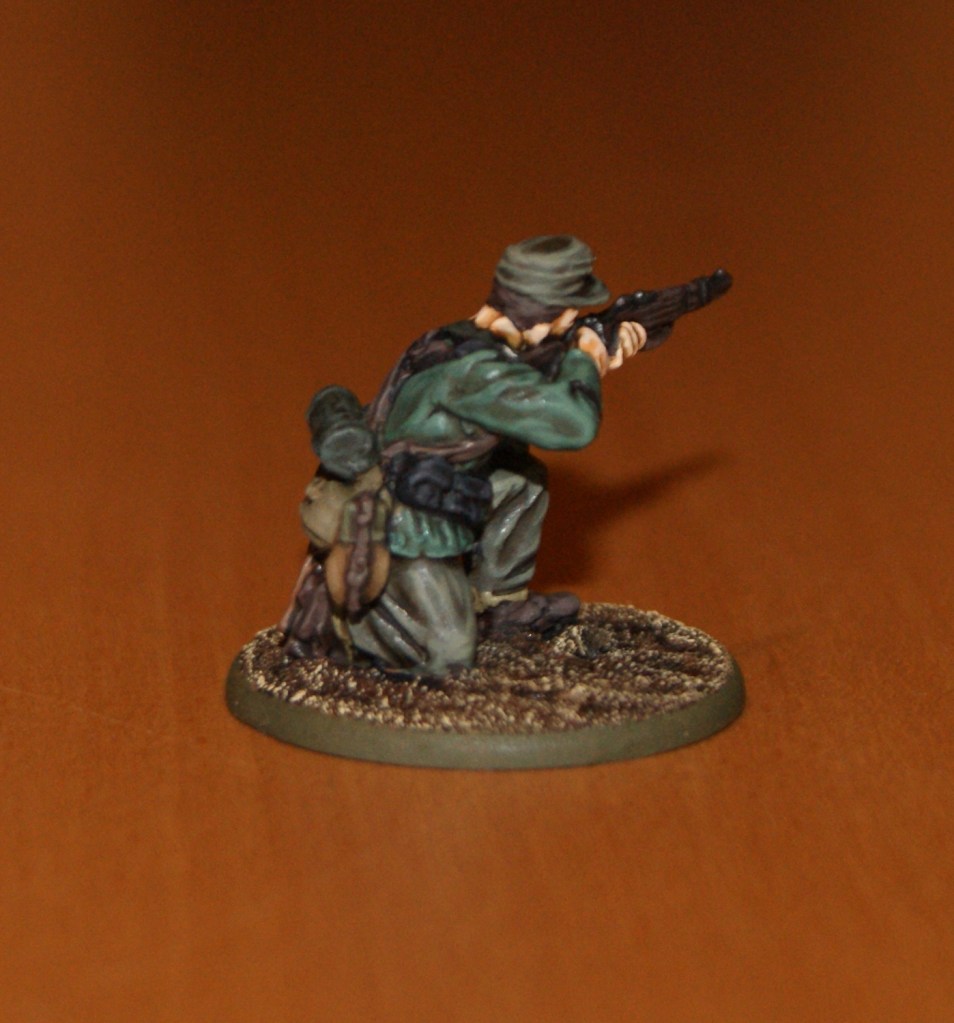
At the moment one figure at a time is about what I can manage. This one is a Perry miniatures Afrika Korps NCO with a Warlord head, and painted as GD at Kursk. Unfortunately the magazine of the SMG wasnt perfectly cast, and that shows now that the figure is painted. I really should and want to go back and fix that with green stuff, but I am not sure that is a good idea – I may well be that Ill only make it worse. Other than that though, I was pretty happy with it.
Just one more Foundry German, again this one has a Warlord Games head. These figures are exactly what you want in ww2 Germans for games like CoC or BA; they wear the high boots, but not the gas mask bag on the chest as some other makers versions. This means that they have the look of a very generic German soldier, which will work well for anything from a 1940 to a 1944 setting.
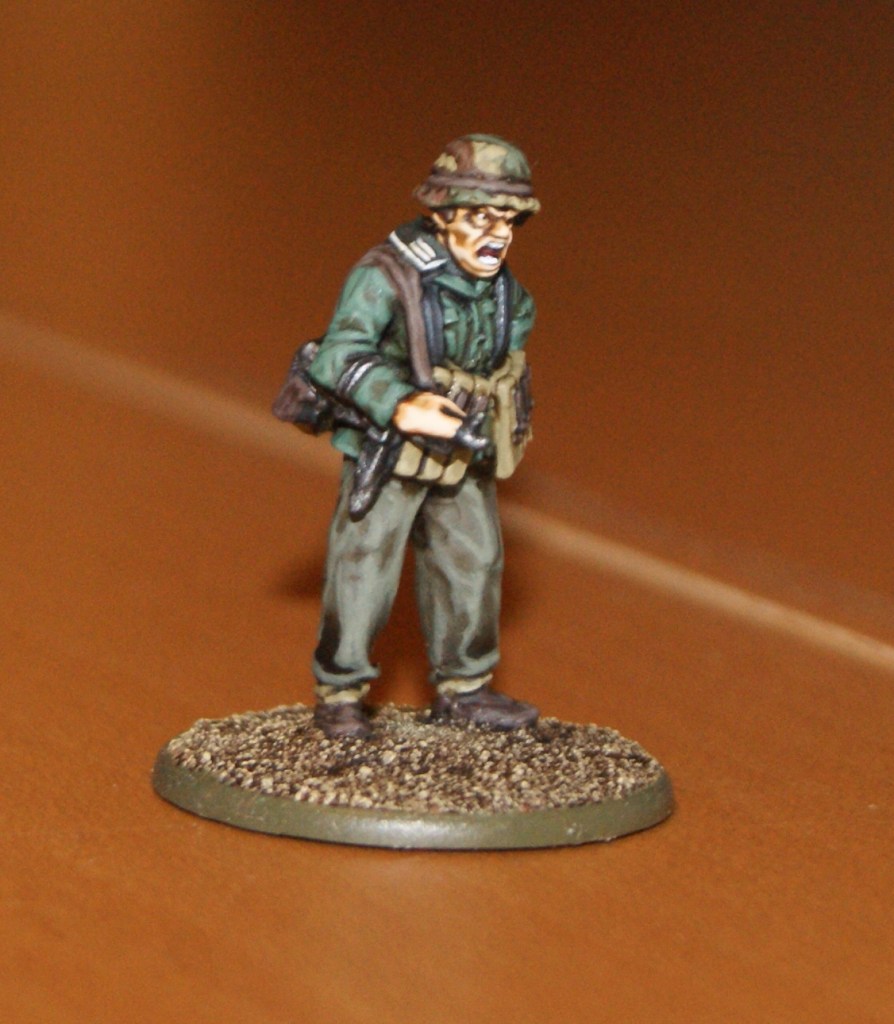
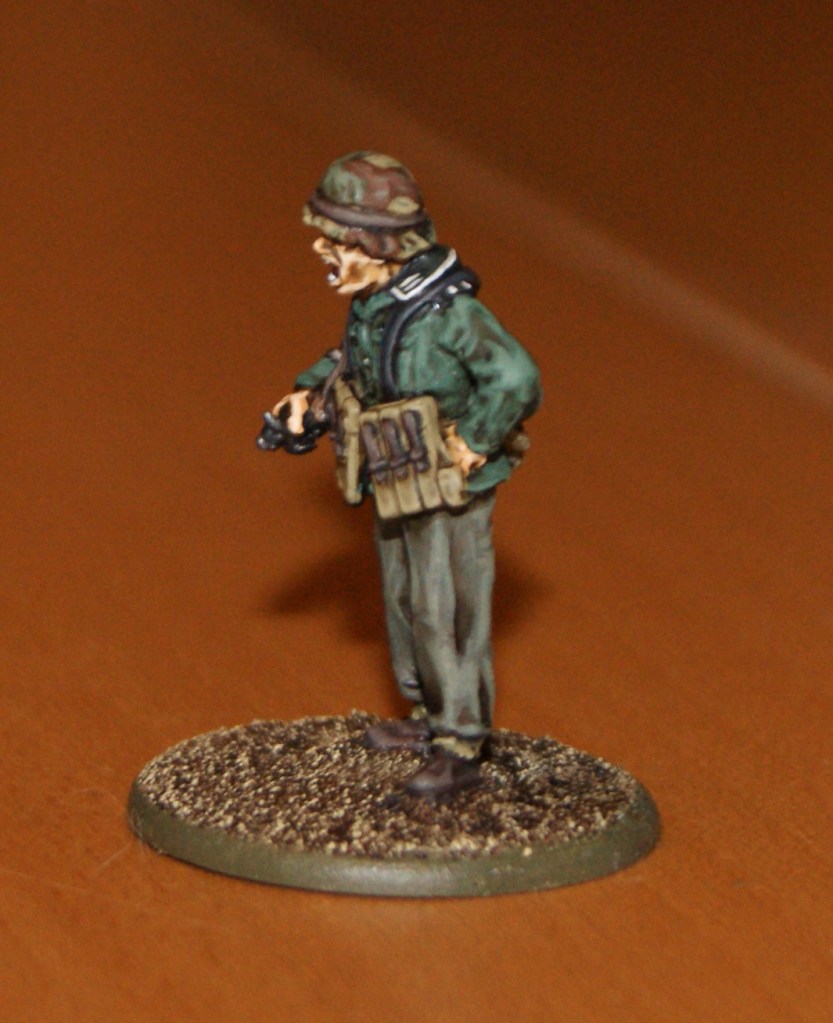
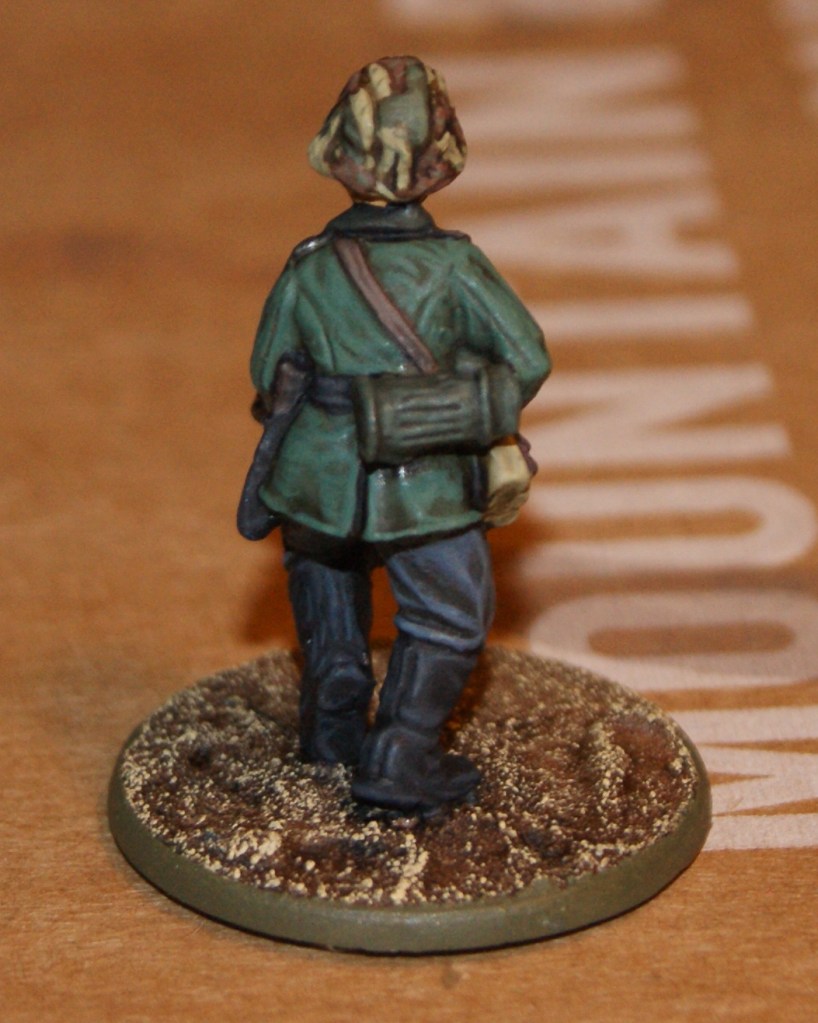
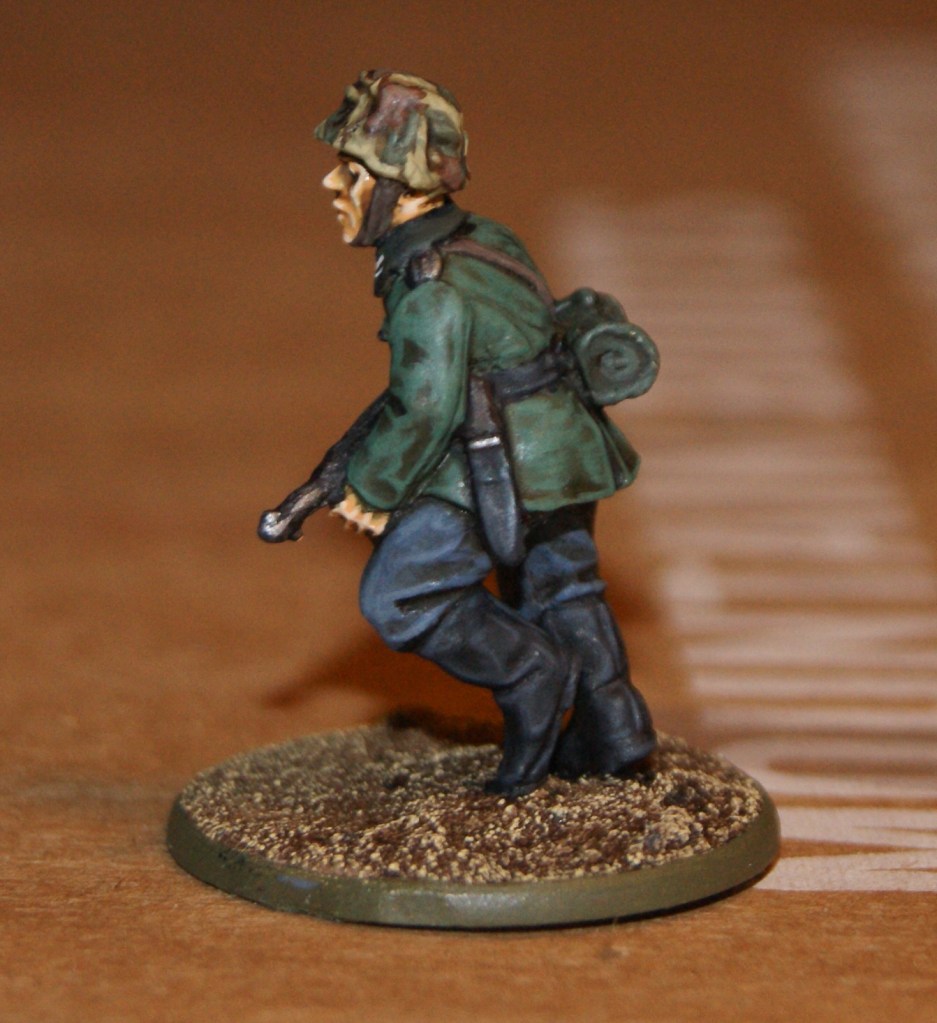
Have had very little time over for painting lately, but managed to do this German officer. I painted him in a early war style uniform but a 1943 style of camo helmet cover. I have prepared a few more figures in a similar style and hopefully will be able to finish them in the coming weeks.
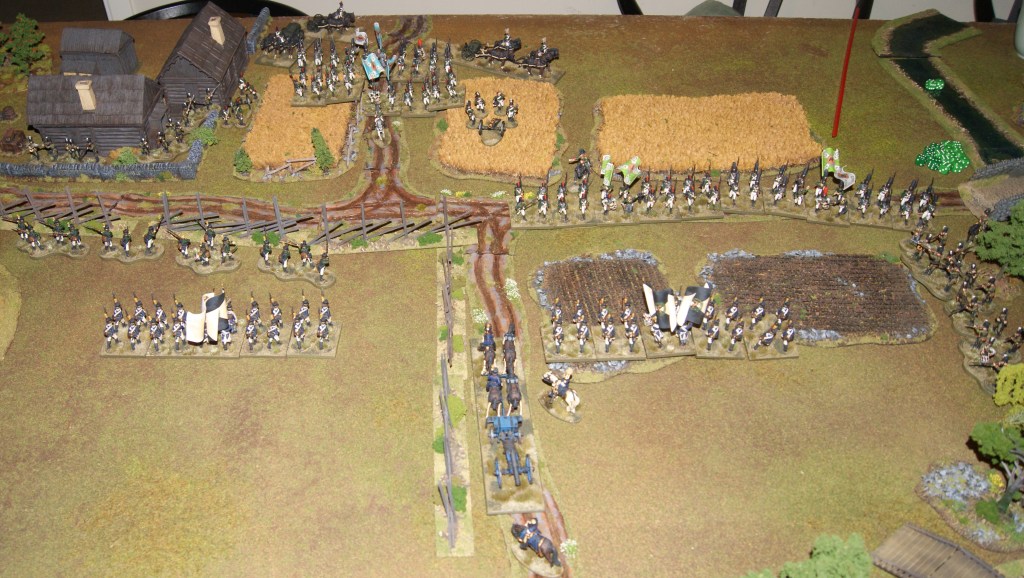
This weekend I had the opportunity to try out my gaming boards and new terrain pieces with a couple of old friends. We played a bit of Black Powder but only did two rounds or so before we called it a night. Although the gaming didnt really take off, I was very pleased with the way my new fences, roads, stone walls and trees looked. For Napoleonics, it is good not to clutter the board too much, and thus relatively easy to make enough scenery.
It also became clear that I could easily fit a couple of more board sections in the room. The gaming area in the pictures is 160x180cm, and would be extended to 160×240, which is a good size for Finnish war scenarios.
I have also done a bit of repainting to make as many 20-man units as possible out of the line infantry. At the moment, about half the line units are this size and the rest are still 16-man units. This looks good on the table and with this table size, I think that larger units would take up too much space (my basing system unfortunately gives units a slightly larger frontage than what is typical for Napoleonics).
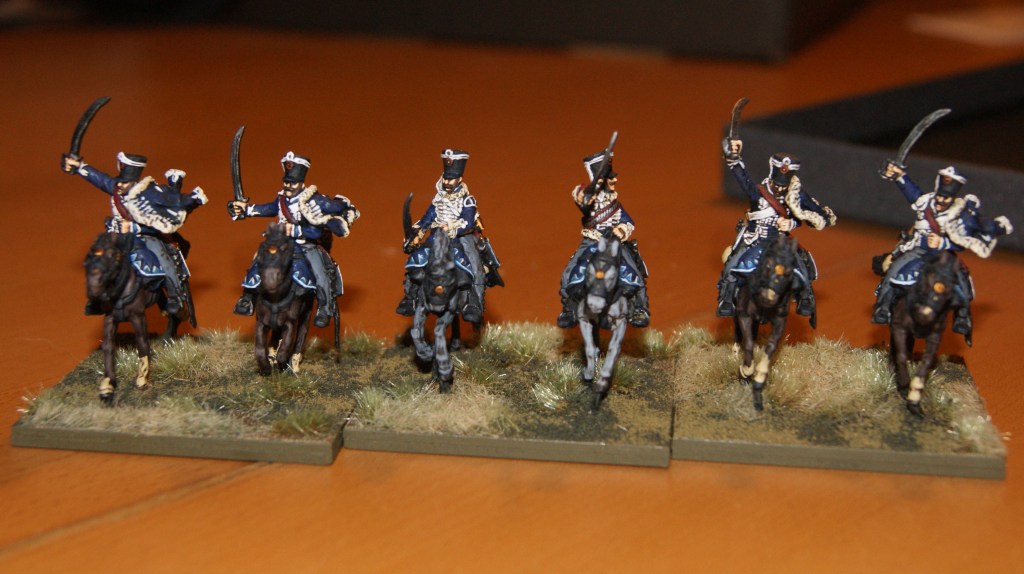
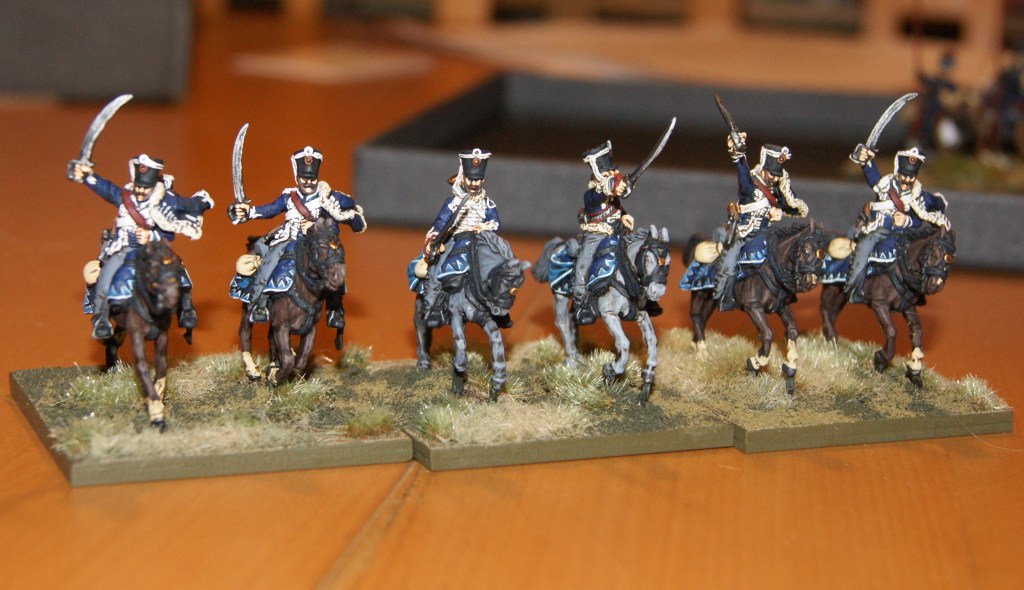
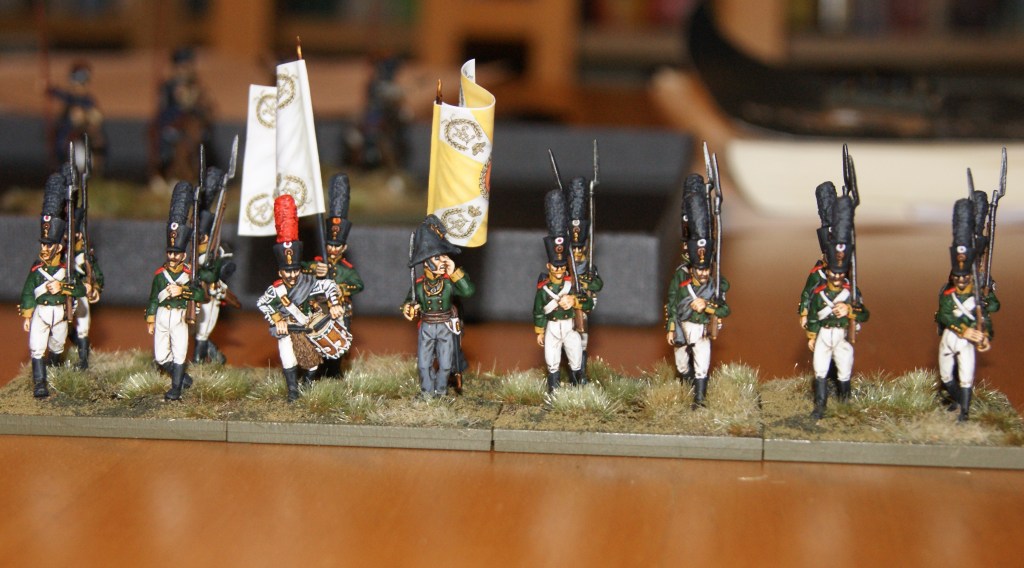
The latest additions to the 1808 Russians are Grodno hussars and Velikie Luki grenadiers (they will pass for Azov regt as well). These are small units, which will hopefully be enlarged somewhat in the future. Even so, they are a useful addition to the Russians, as they are still slightly outnumbered by their Swedish and Finnish opponents.
The hussars are Perry figures with Brigade Games heads; the grenadiers are Brigade Games figures.
I finished a third panzer III intended for the 1943 setting. The tank model is by Waffenkammer and the commander figure by Empress. I left out the side skirts around the turret on this one, but added some of the hull skirts, which is the opposite of what I did with the other two tanks. I imagine that the commander may have benefited from better vision (the skirts obscured the view quite a bit). I still have the hull skirts for the other two tanks. I might go back and add them at some point, but its not a priority…
The side skirts and the rails on which they are attached are very well made on the Waffenkammer model. It was quite easy to cut the skirts up into smaller pieces and hang them on the rails, pretty much as they would have done in real life. In 1943 in particular these skirts came off all the time because the attachements werent very good. As a comparison, the way this is modelled on the old Warlord resin pzIV, which I did recently, makes it impossible to model loose plates without extensive conversion work.
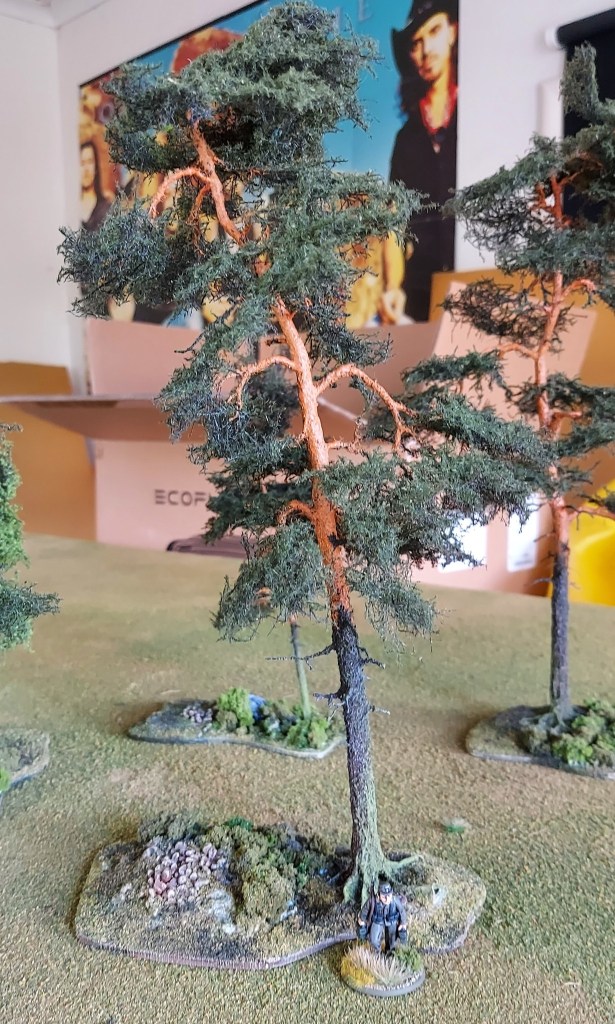
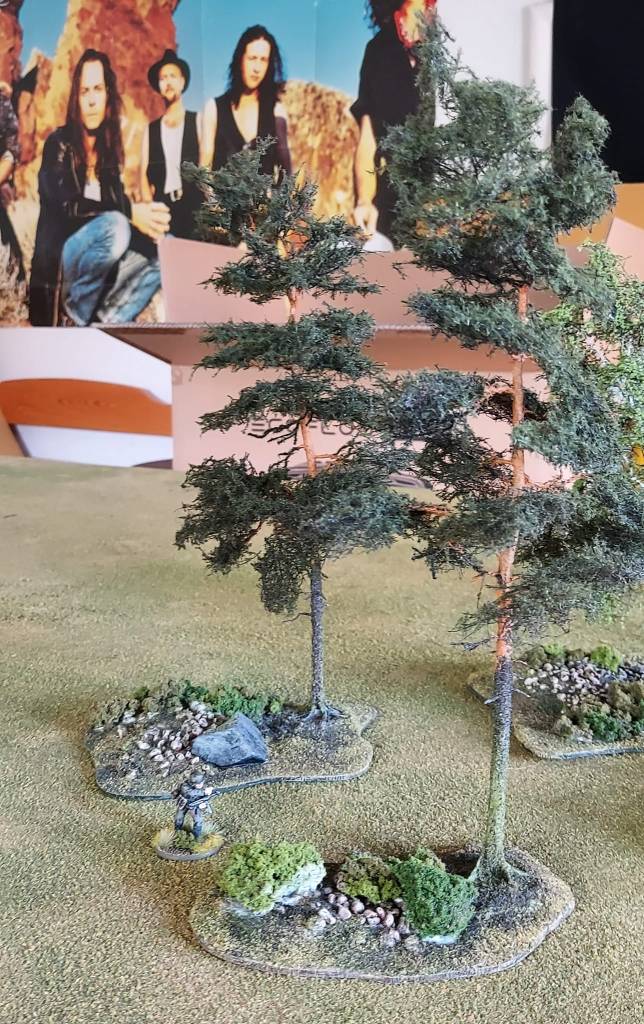
A quick update on my terrain making. I mounted some trees -i recently bought from a Polish maker, https://drzewamodelarstwo.pl/en/
These trees are rather expensive, but at least they are in the EU, so no import fees (!), something one is becoming used to when it comes to hobby supplies these days. And considering the quality and size of the trees, I would say they are quite a steal. The trees come with just the roots, so the mounting on bases was my part of the whole thing. I built up the bases in places and added texture and gravel in a couple of different sizes. I painted this and drybrushed it in the same way I do miniature bases and other terrain pieces. I then added many different types of Woodland Scenics foliage clumps and their “fine” and “blended” “turf” material. Using several different colored types gives variation and you can almost do a sort of shading and highlighting of the ground. When the pictures were taken the PVA was not wholly dry, so there are some white spots in the pictures that will disappear when it has dried completely.